
The Easiest Way to Try Hydroponics
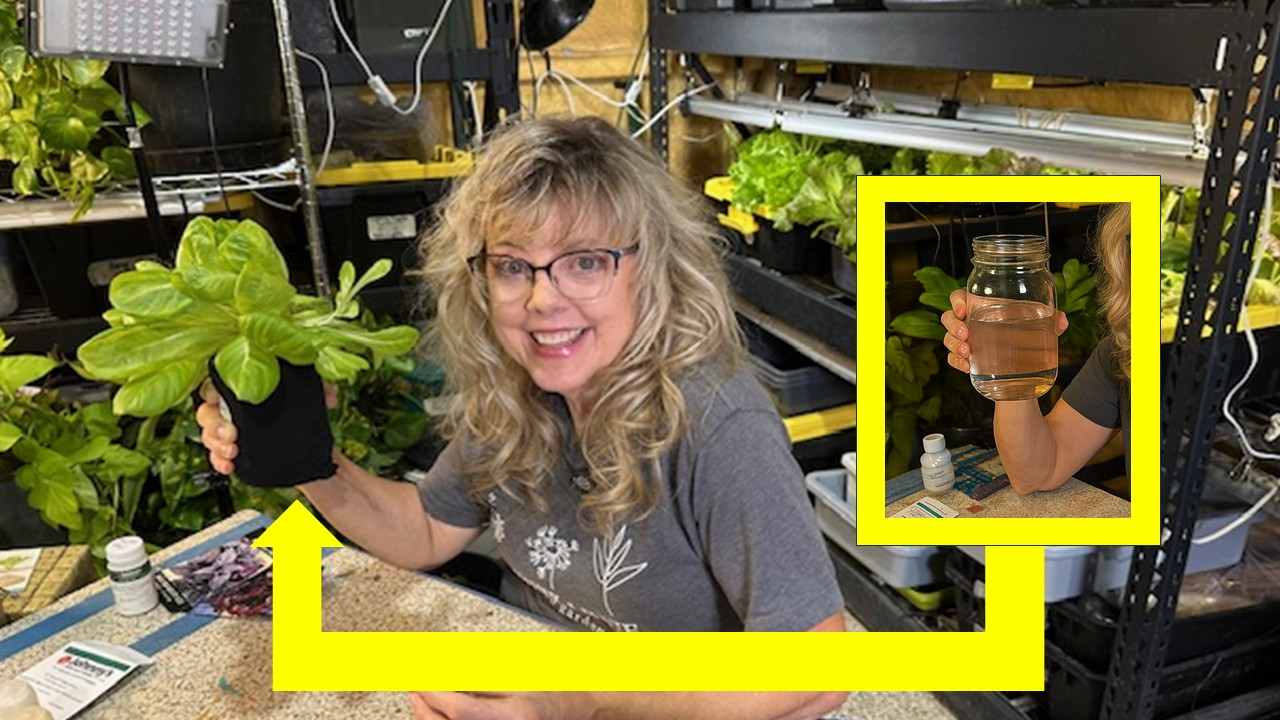
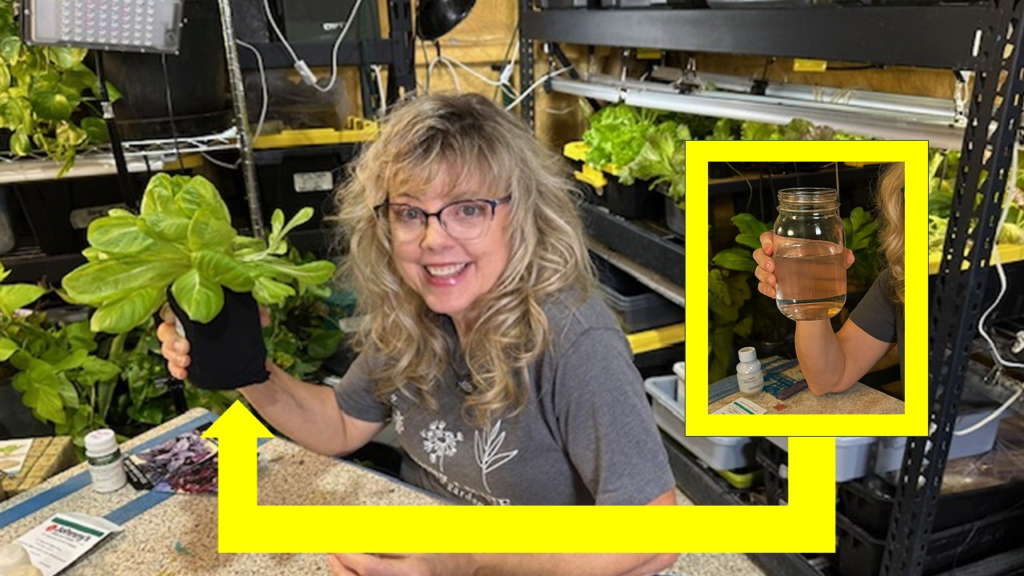
Have you ever wondered what is happening under the soil as a plant grows? Most of the time, we only see the leaves and stems above the ground. The roots are hidden.
With hydroponics in a clear quart-size jar, you can see the whole root system as it grows! You can start with a tiny seed and watch as the first roots appear. Then you can see those roots grow longer and spread through the water. You get to see a part of plant growth that is usually hidden below the soil. You don’t need an expensive hydroponic system to do it.
You can get started with a quart-size jar, a small plastic cup, a piece of sponge, and a few other basic supplies. This simple way of growing is called the Kratky method. It does not use a water pump or an air pump. The plant gets the water, nutrients, and oxygen it needs right from the jar.
It’s an easy way to try hydroponics for the first time and a great way to see how a plant grows from seed to harvest.
How Does the Kratky Method Work?
In a Kratky hydroponic system, the plant grows above water mixed with nutrients. As the seed sprouts, its roots grow through the sponge and down into the water.
As the plant uses the water, the water level drops and creates an air gap. Some roots stay in the water to take in water and nutrients, while others get oxygen from the air gap.
With a clear jar, you can watch the roots grow and see this process happen!
Materials
You will need:
- 1 clear quart-size jar
- 1 small plastic cup that fits inside the opening of the jar
- A tool for making small holes in the plastic cup
- 1 clean, unused sponge, cut into a 1-inch square. (Use a plain sponge with no soap, cleaners, antibacterial treatment, or scrubbing pad.)
- Lettuce seeds (Basil, arugula, and kale also grow very well using this method)
- Hydroponic nutrients
- Water
- 1 clean black crew sock to cover the jar and block light from reaching the nutrient solution
- A measuring cup or container for mixing the nutrient solution
Tip: A black crew sock makes a simple cover for your jar. Just slip it over the jar to help keep light away from the nutrient solution and reduce algae growth. When you want to see what’s happening below the plant, simply slide the sock off and take a look at the roots. Then put it back on when you’re finished.
Step-by-Step Instructions
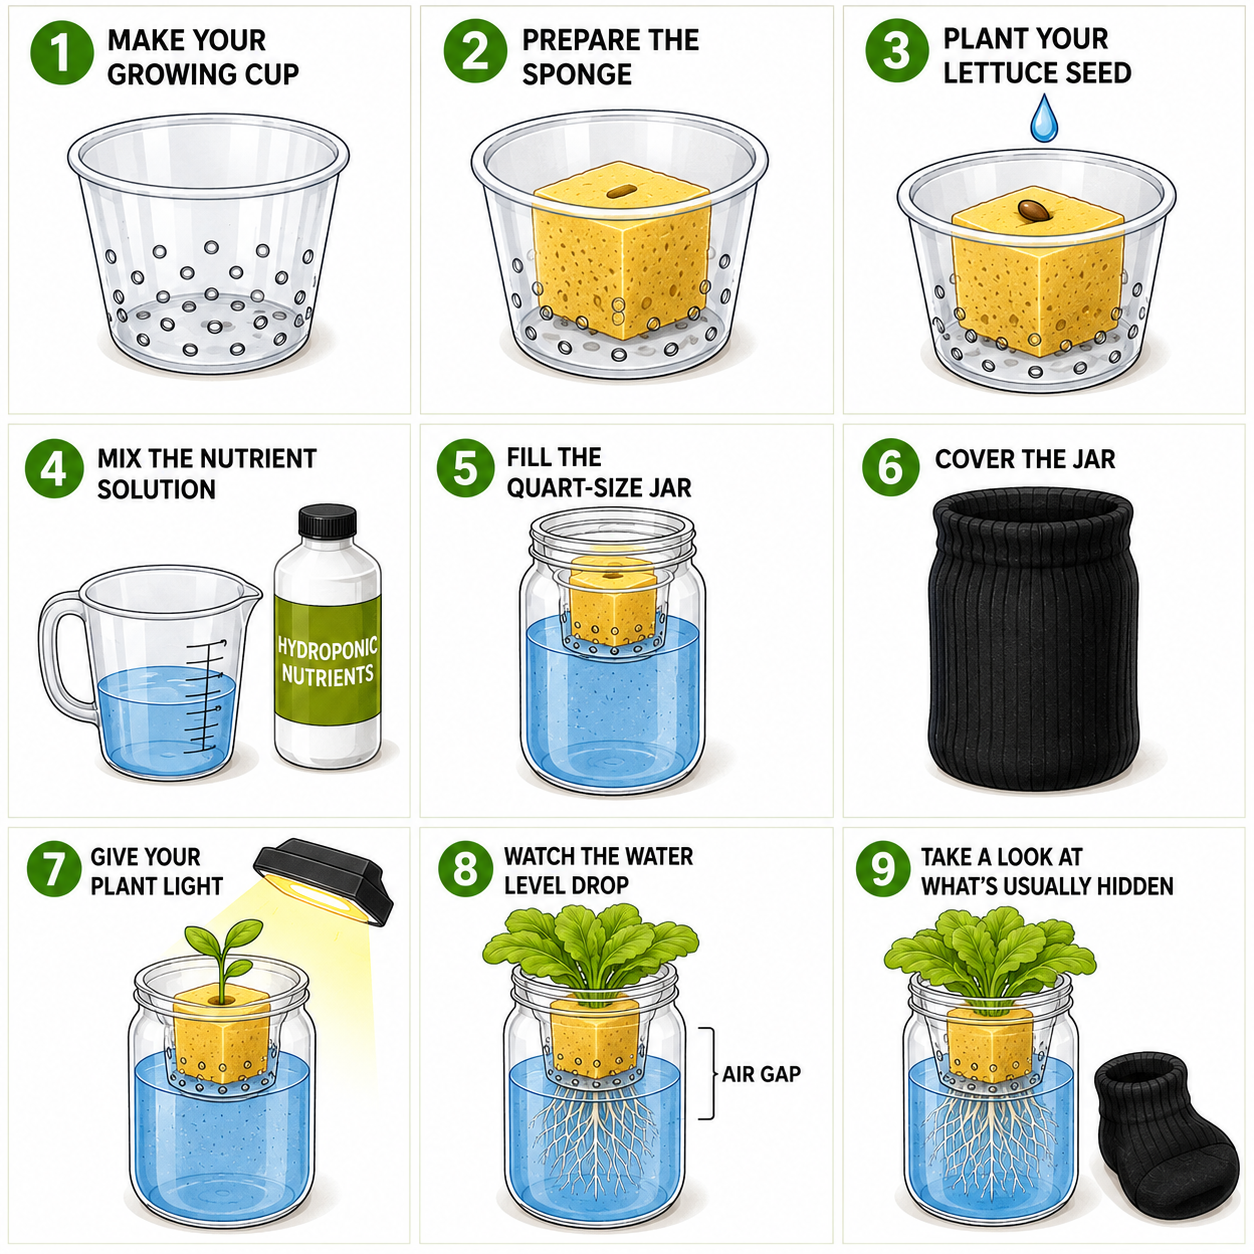
Step 1: Make Your Growing Cup
Choose a small plastic cup that will fit inside the opening of your quart-size jar.
Make several holes scattered across the bottom of the cup. Continue making holes around the sides of the cup, about 1/2 inch up from the bottom.
The holes allow water to reach the sponge and give the roots plenty of places to grow through the cup and down into the jar.
Step 2: Prepare the Sponge
Cut a clean, unused sponge into a square about 1 inch by 1 inch.
You do not need to punch holes through the sponge for the roots. Young roots can grow through the sponge on their own.
Make a small slit or shallow opening in the top of the sponge for the lettuce seed.
Place the sponge in the bottom of the plastic cup.
Step 3: Plant Your Lettuce Seeds
Moisten the sponge with water.
Place your lettuce seed in the small opening you made in the sponge.
Keep the sponge moist while you wait for the seed to sprout. Before long, you should see a tiny plant above the sponge and a root beginning to grow below it.
Step 4: Mix the Nutrient Solution
Plants need nutrients to grow. Plants growing in soil can get many of these nutrients from the soil. A hydroponic plant gets its nutrients from the water.
Follow the directions for your hydroponic nutrients and mix the correct amount with water.
This mixture of water and nutrients is called the nutrient solution.
Step 5: Fill the Quart-Size Jar
Pour the nutrient solution into the jar.
Place the plastic cup into the opening of the jar. The nutrient solution should be high enough to reach the lower part of the sponge through the holes in the plastic cup.
The sponge needs to stay moist while the seed sprouts and the young roots begin growing.
Step 6: Cover the Jar
Slip a clean black crew sock over the outside of the jar.
Why cover a clear jar when seeing the roots is one of the best parts of this project?
The leaves need light, but the nutrient solution does not. Light reaching the nutrient solution can encourage algae to grow.
The sock gives you the best of both worlds. Keep the jar covered while the plant is growing, then slide the sock off when you want to check the water level and look at the roots.
Step 7: Give Your Plant Light
Once your seed begins to sprout, your plant will need plenty of light.
Place the jar where the lettuce will receive enough light each day. If you are growing indoors and don’t have enough sunlight, you can use a grow light.
Step 8: Watch the Water Level Drop
As your lettuce grows, its roots will get longer and the plant will begin using more water. The water level in the jar will slowly drop.
Don’t keep filling the jar all the way back to the top.
The space that develops between the water and the plastic cup is important. This is the air gap. It allows part of the root system to get oxygen while the lower roots continue to take in water and nutrients.
This is one of the most important parts of the Kratky method.
Step 9: Take a Look at What’s Usually Hidden
Every few days, slide the black sock off your jar and take a look.
You started with a seed and a 1-inch square of sponge. Now you’ll begin to see roots growing through the sponge, through the holes in the plastic cup, and down into the nutrient solution.
As the lettuce grows larger above the jar, the root system below it will grow too.
When we grow plants in soil, all of this is happening where we can’t see it. With a clear quart-size jar, you get to watch what’s usually happening below the soil.
When you’re finished looking, slip the black sock back over the jar and let your lettuce keep growing.
You don’t need a large hydroponic system to learn how hydroponics works. You can start with one seed, one quart-size jar, and a few simple supplies. Before long, you can harvest lettuce that you grew yourself and you did it without any soil.